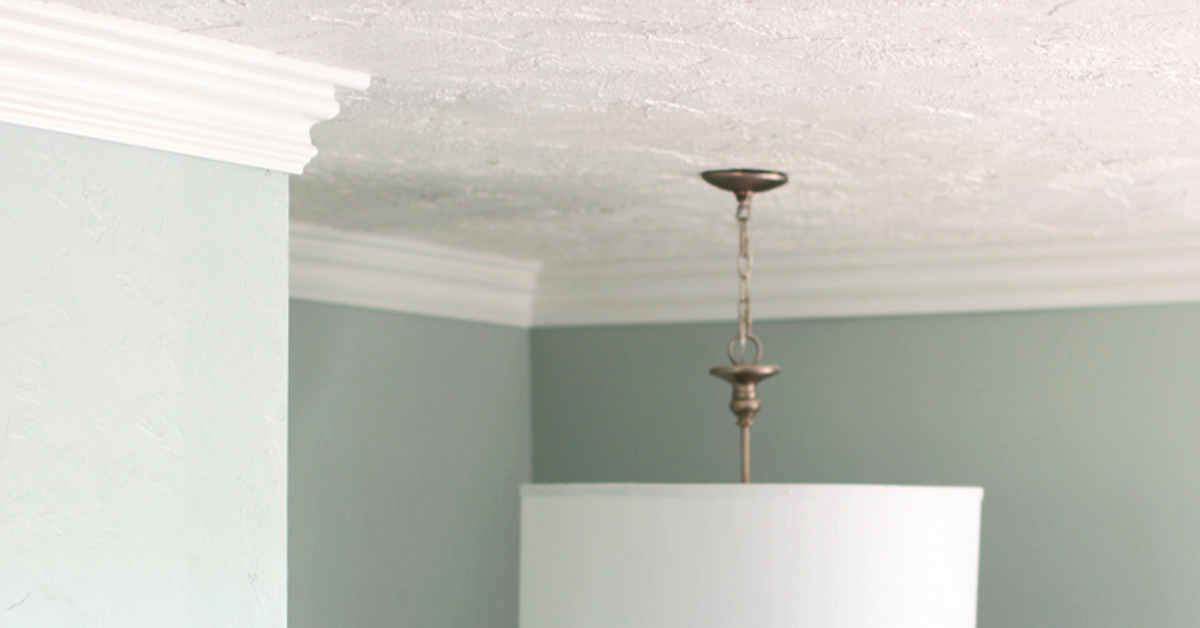
DIY How-To Install Large Foam Molding
If you’ve just purchased our large 8” snap crown moldings, you’re going to love how easy they are to install. No nails, no screws, hooray! It’s a “snap” to install our foam crown moldings, and our T block system makes it super simple. We suggest you paint your molding before you install it, so you get a crisp clean finish without worrying about the surrounding areas. But we’re getting ahead of ourselves. Allow us to break it down for you in 6 easy steps.
Step 1
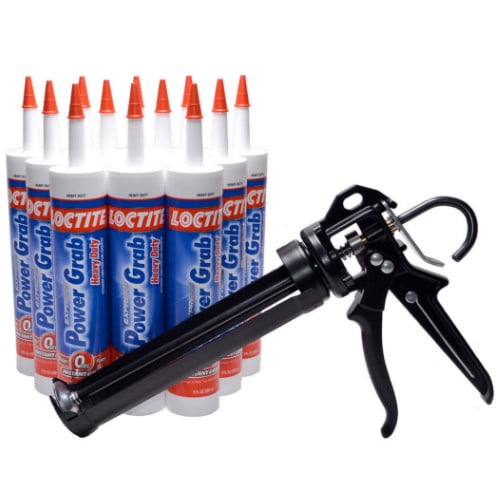
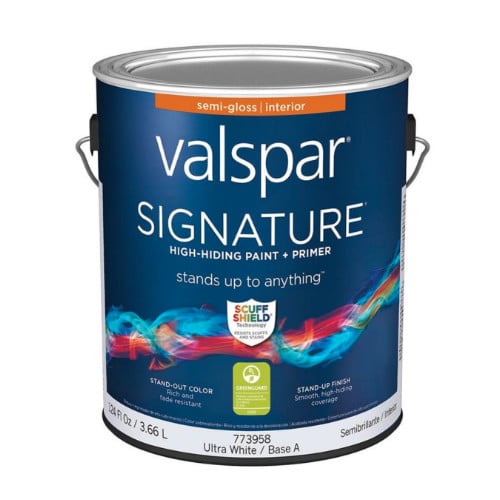
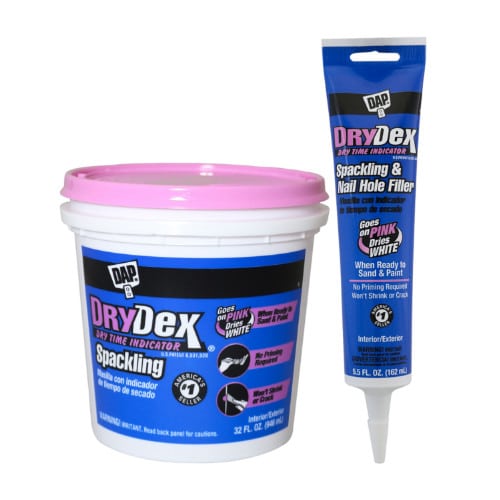
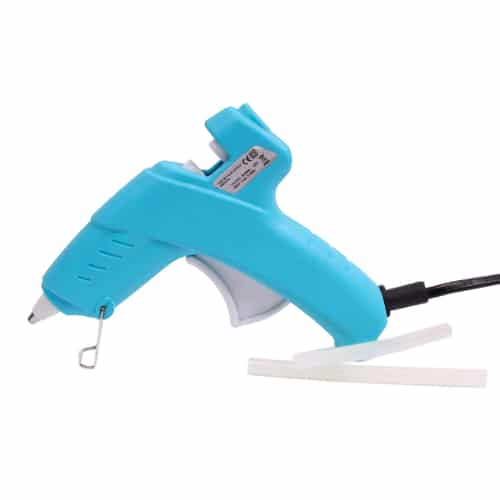
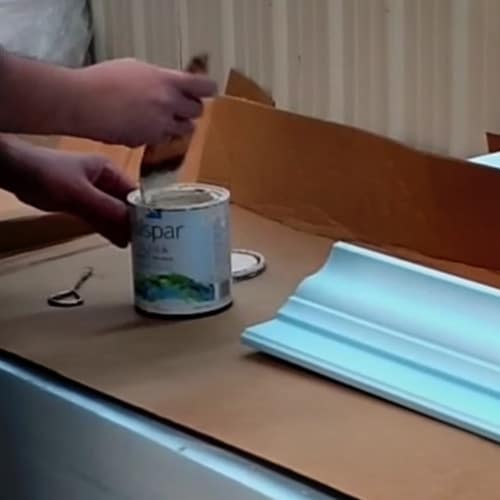
Always get your supplies together before starting a big project. You will need painters caulk, a tape measure, something to cut with such as a miter saw, pull saw, hand saw, or even a sharp kitchen knife (if your foam crown molding isn’t cut to your exact measurements yet), water based paint + primer, sandable spackle and a low heat glue gun.


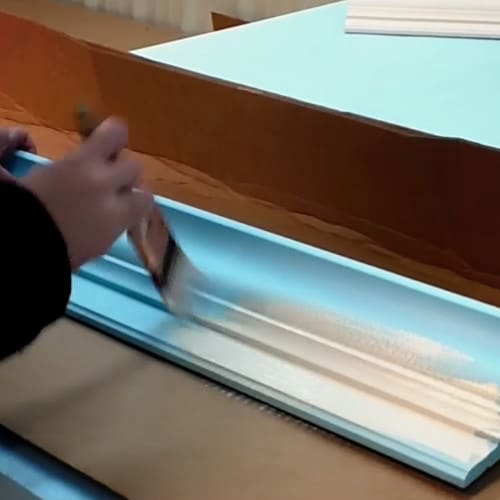
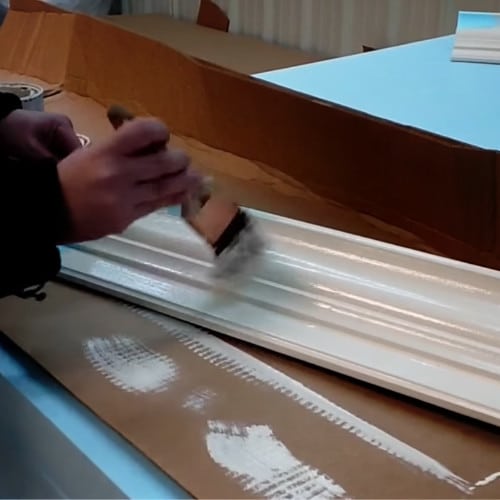
Step 2
Apply two coats of water based paint + primer. Make sure you use a paint with primer in it! Let this dry before proceeding.
*Foam material changed from blue to gray as of 03/24.
*Foam material changed from blue to gray as of 03/24.
Step 3
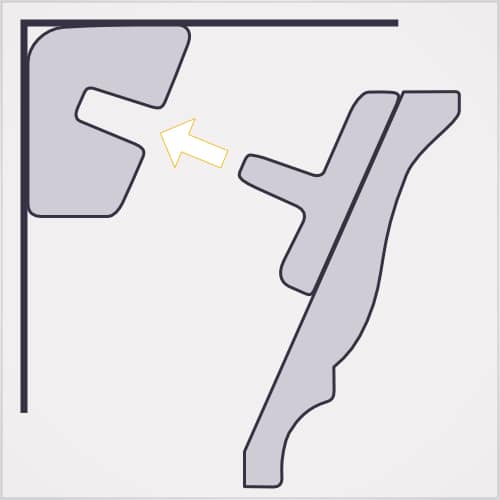
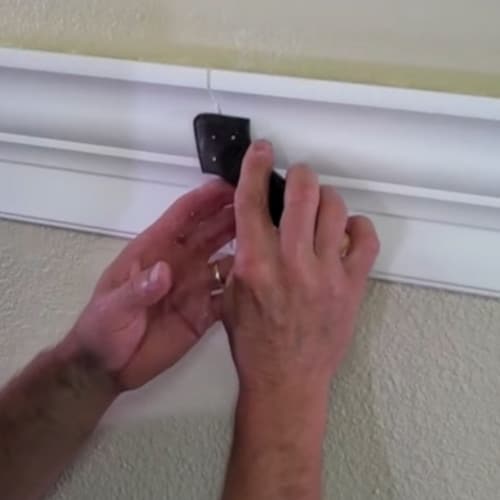
Install the snap blocks throughout the room first; about every 2 feet for 8″ and every 4 feet for 13″ moldings. To do this, apply painters caulk to the back of the snap block along the top and the bottom and press to the wall.
Apply caulk to back of snap block.

Press snap block to wall.
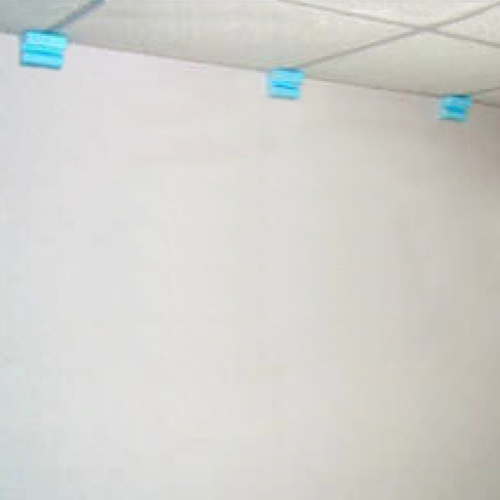
Apply snap blocks every 2-4 feet.
Step 4
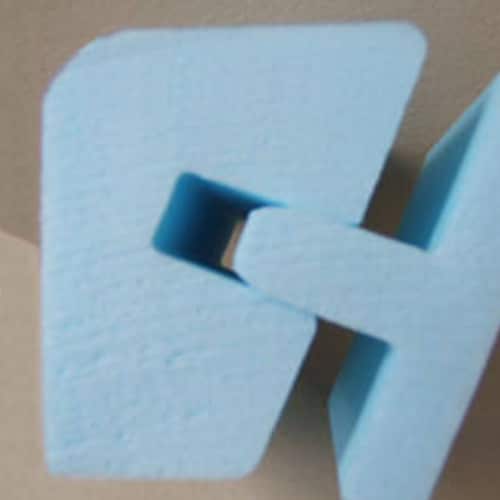
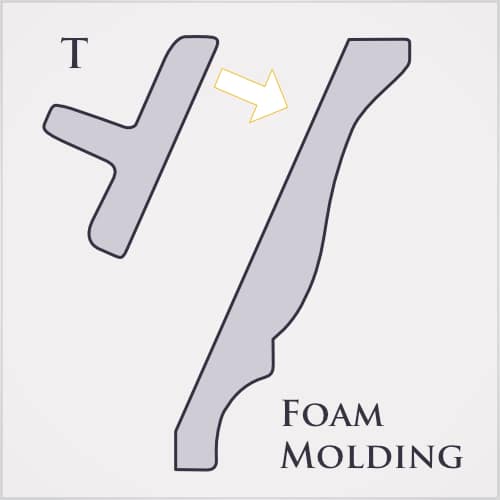
Using a low-temp hot glue gun, glue the “T” to the back of the molding. Be sure to mount the “T’s” even with the top of the molding. Note: the tapered edge goes up and the square edge is at the bottom.
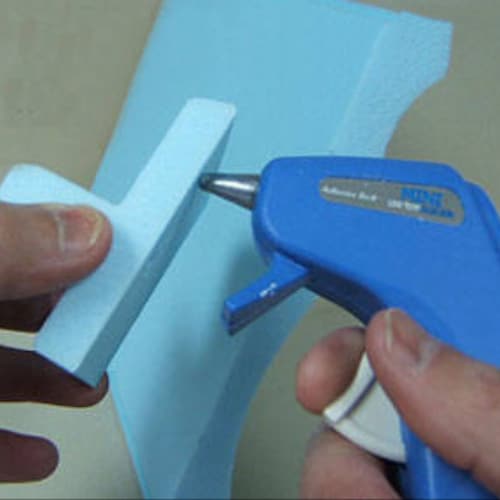
Use low temp glue gun.
Glue T to molding.
Align T to top of molding.
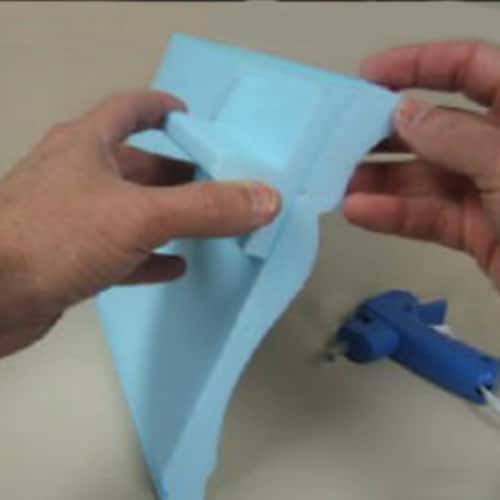
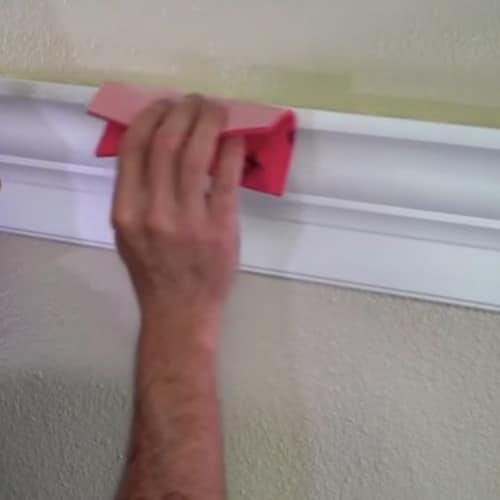
Now you’re going to glue the molding to the wall block! Apply a little adhesive on the end of the “T” that goes into the wall snap block, apply a little adhesive on the horizontal top and bottom edges of the molding and snap it in!
Apply caulk to molding.
Apply adhesive to end of T.
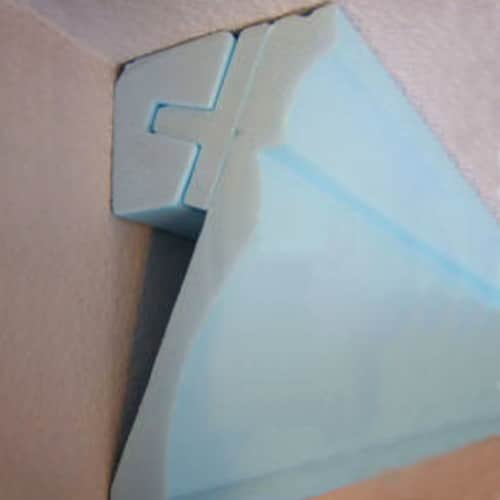
Press T to snap block.
Step 5
Fill your vertical seams with sandable spackle.
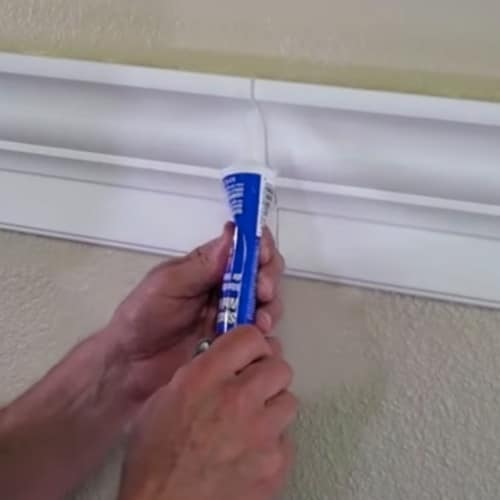
Fill with sandable spackle.
Remove excess spackle & let dry for 1 hour.
Sand spackle till smooth & apply a coat of paint!
Step 6
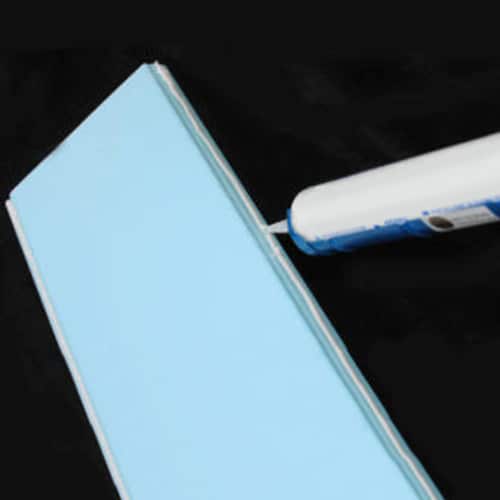
Caulk your top and bottom horizontal seams.
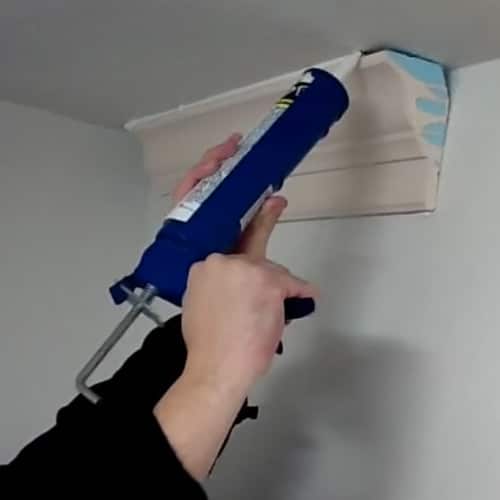
Caulk top horizontal seam.

Caulk bottom horizontal seam.
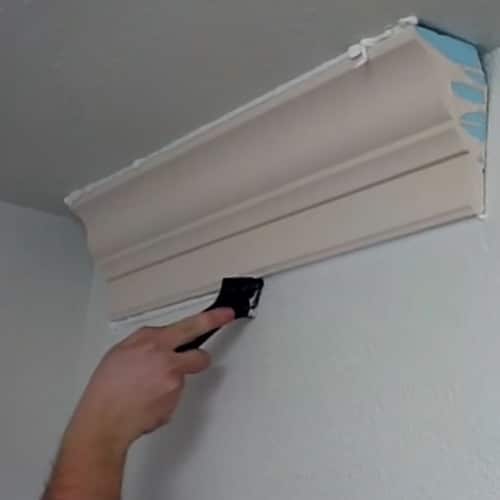
Wipe away & smooth excess caulk from seam!
Prefer watching videos? So do we!
Flat Back Molding Installation
Watch a video on how to prime, paint, and install our Flat Back Crown Molding.
Villa Deco Molding Installation
Watch a video on how to paint and install our Villa Deco Crown Molding.

