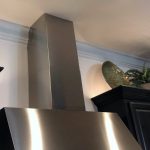
Frames can be expensive to purchase, especially large customized frames! But custom frames can make a serious statement in almost any room of your home. Maybe you want a frame for a specific photo or to add some pizzazz to a plain builder-grade mirror in your bathroom. You might just want to frame out a large wall above a fireplace or above a sofa. You don’t have to spend hundreds of dollars to achieve the look you want! In this step-by-step DIY we’ll show you how easy it is to create the custom frame style you want for your room in just a few hours with foam crown molding.
STEP 1 | Gather Supplies
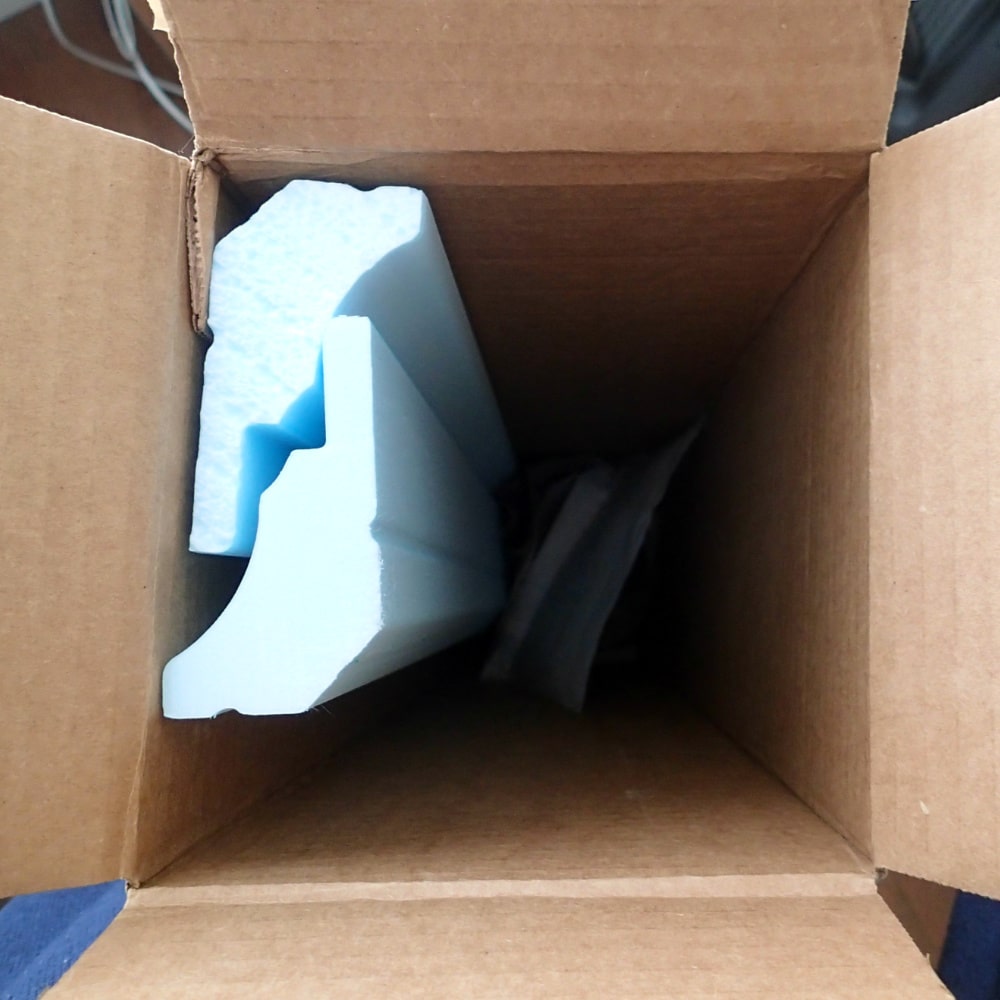
Choose the size and style of the crown molding you’d like to use. Browse large statement pieces that are 4.5” in height, or opt for a dainty look with our smaller foam crown molding pieces. You’ll need to decide how large you want your frame and order the appropriate amount of crown molding lengths. We recommend purchasing a little bit more than you need as some length will be lost to corners.
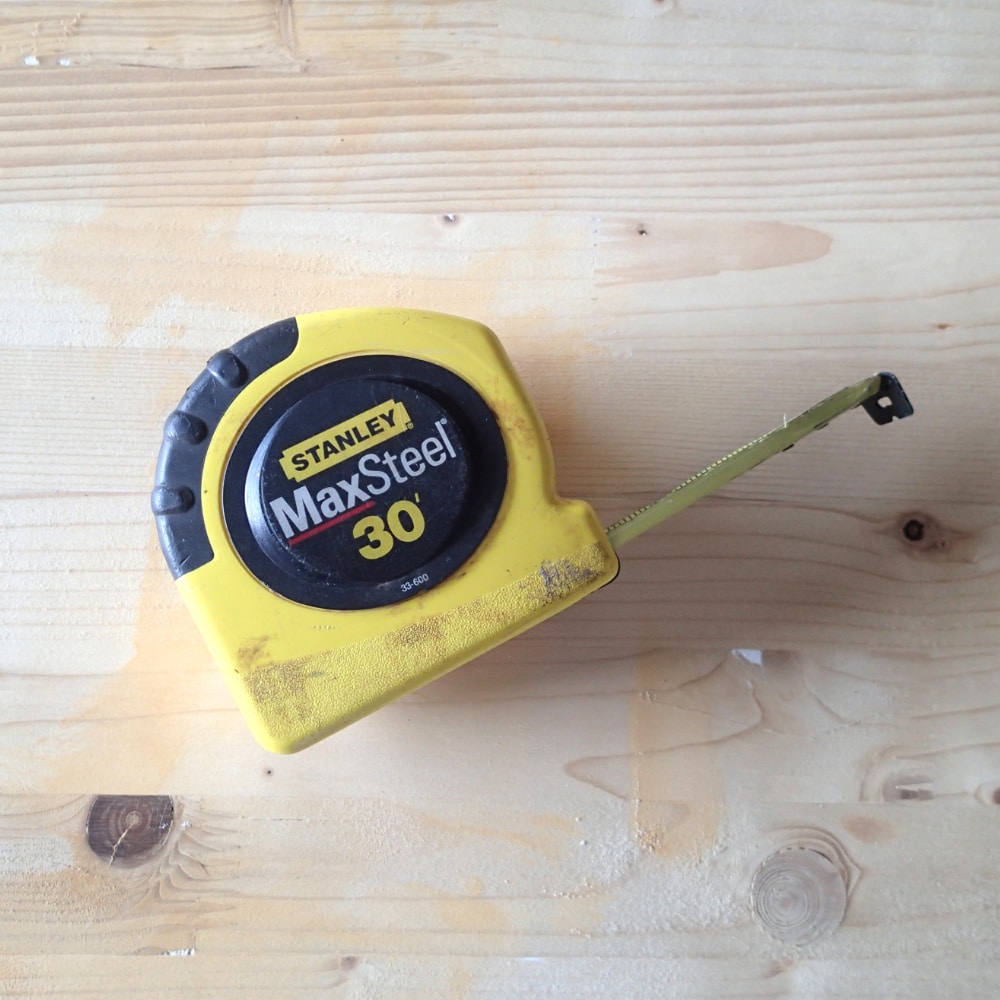
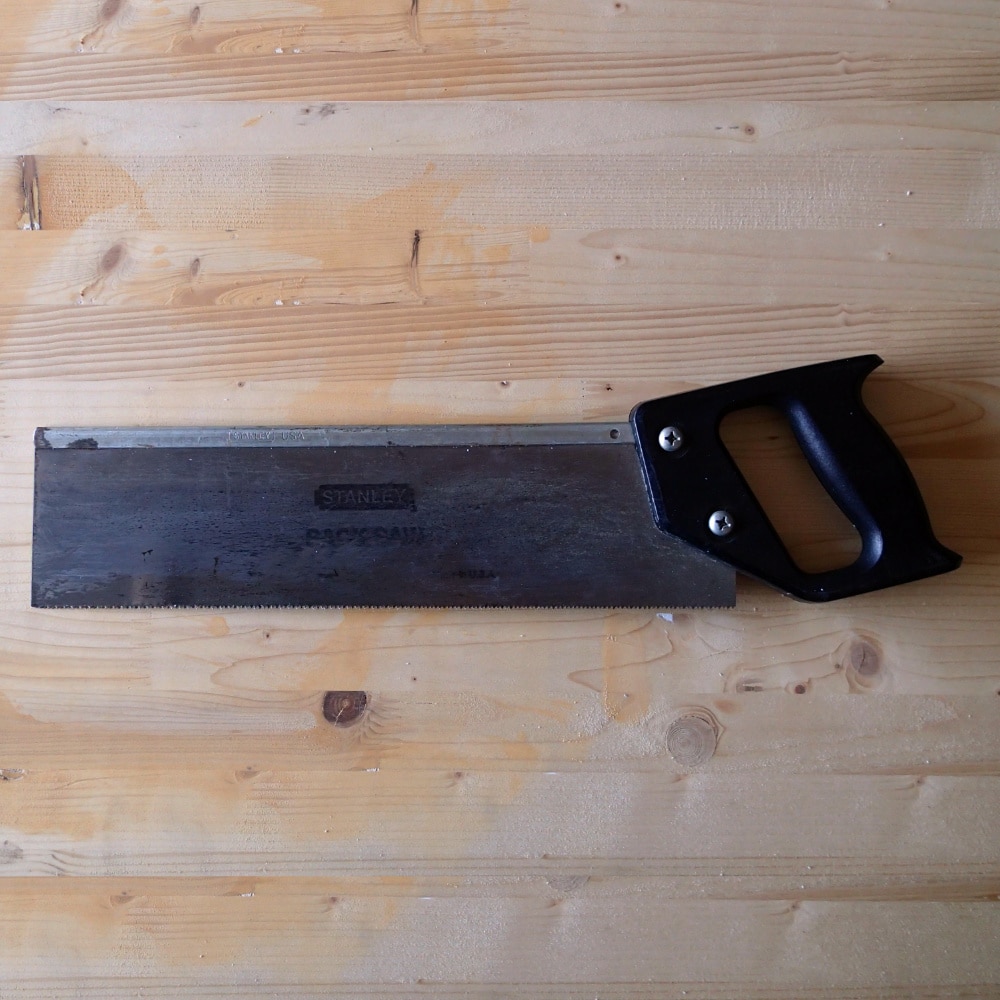
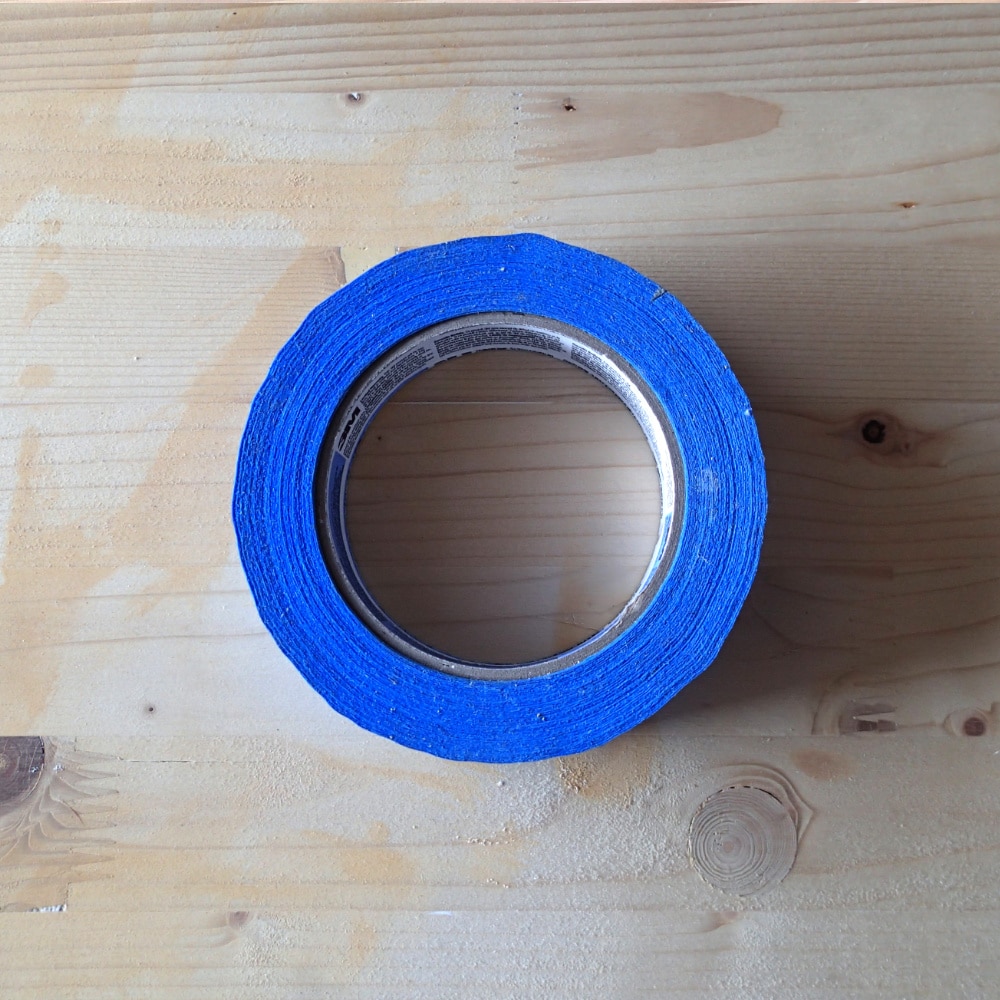
Gather up the following once you’ve received your crown molding in the mail: Tape Measure, Pencil, Hand Saw, Miter Box, Caulk, Painters Tape, Paint. We are using Style 1 Flat Back Molding, Height 3 1/2″.

STEP 2 | Measure Twice, Cut Once
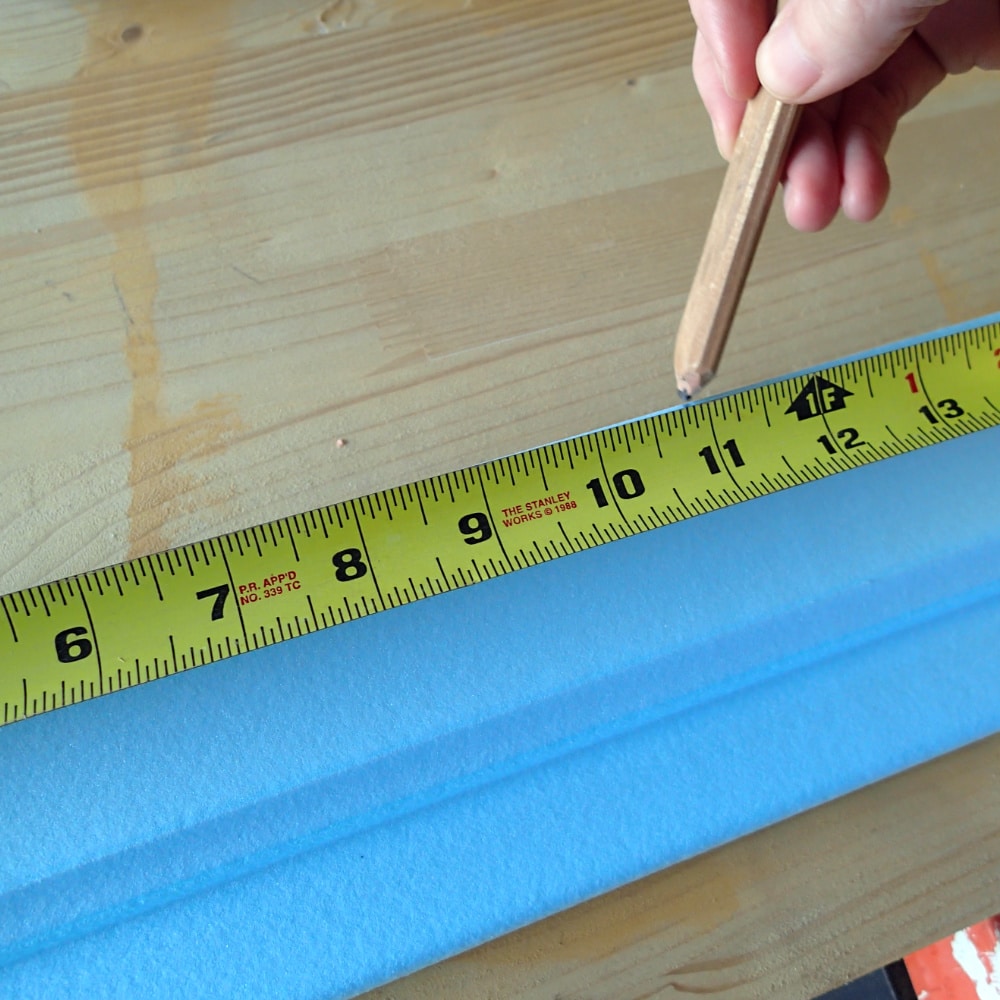
We measured using the outside length of our frame (11×12), which left the inside measuring at 4 1/2 x 5/1/2. If you want your frame to match artwork of a certain size, match the outside measurement of your artwork to the inside length of your 45° angle cut.
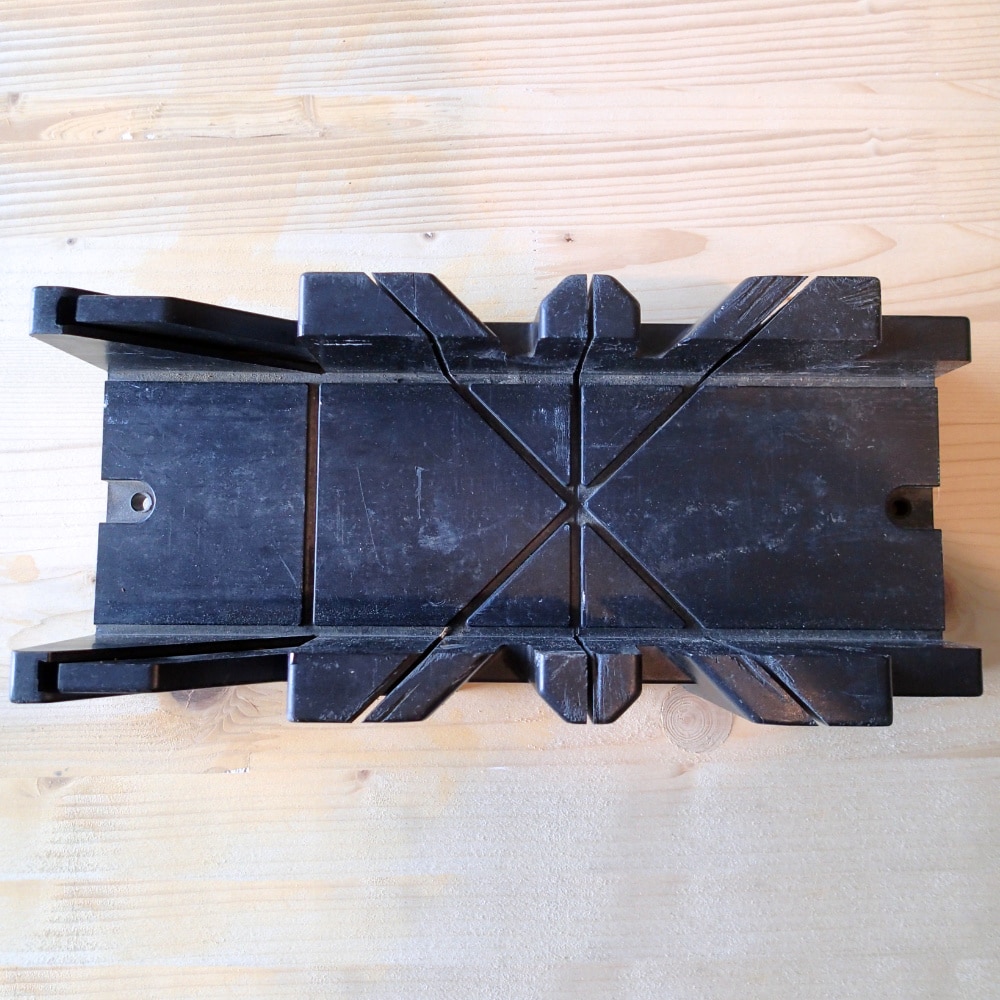
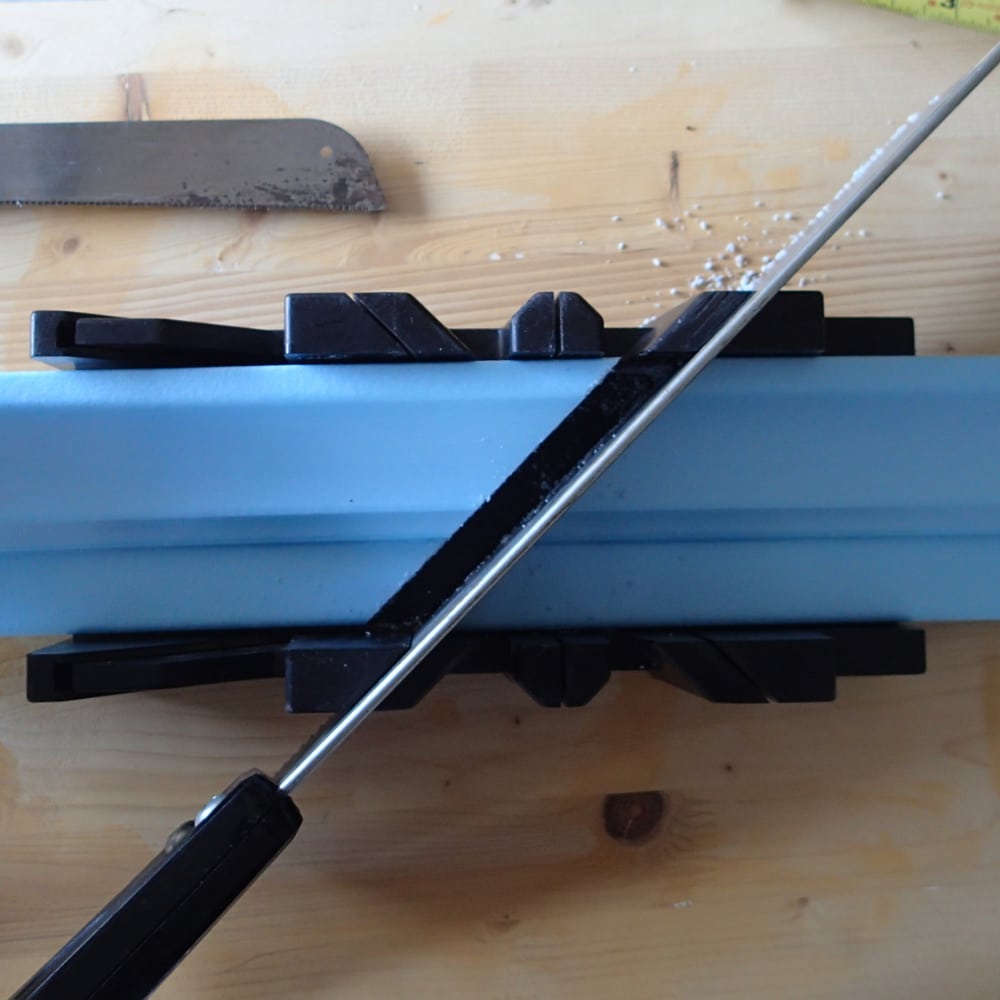
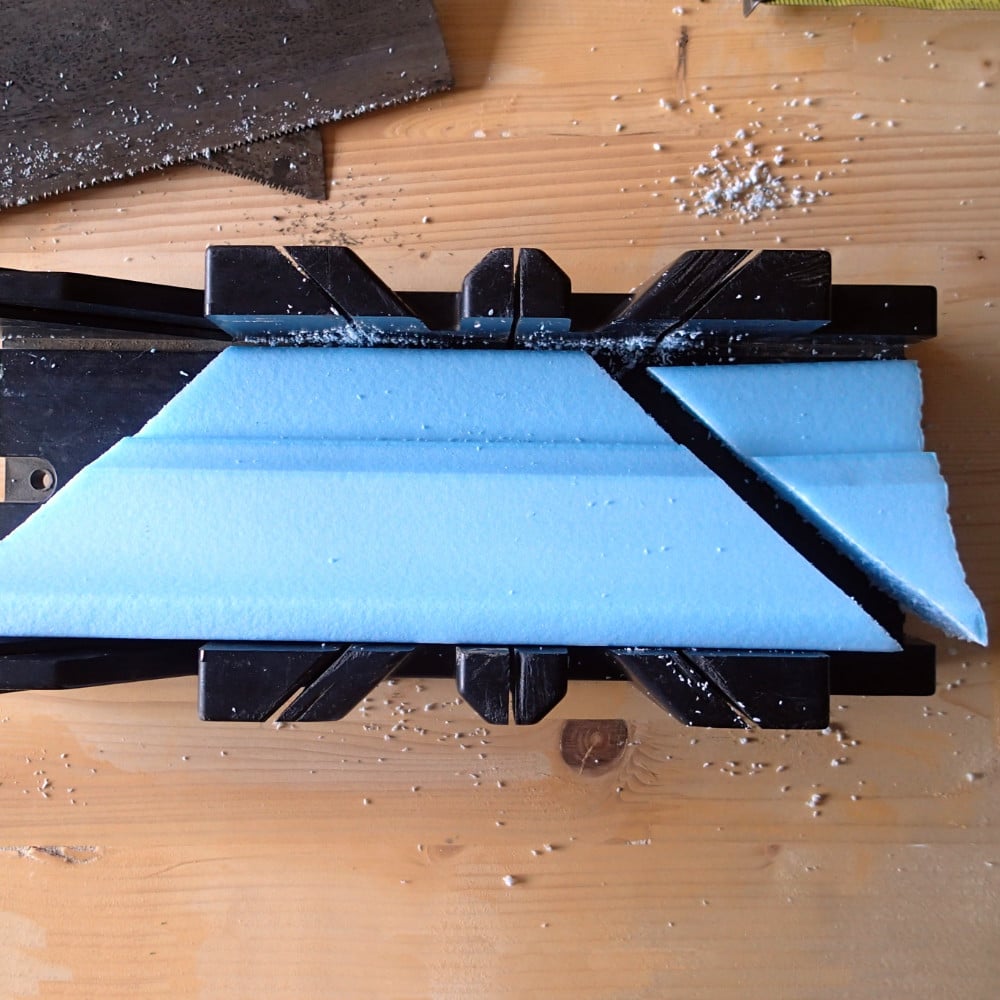
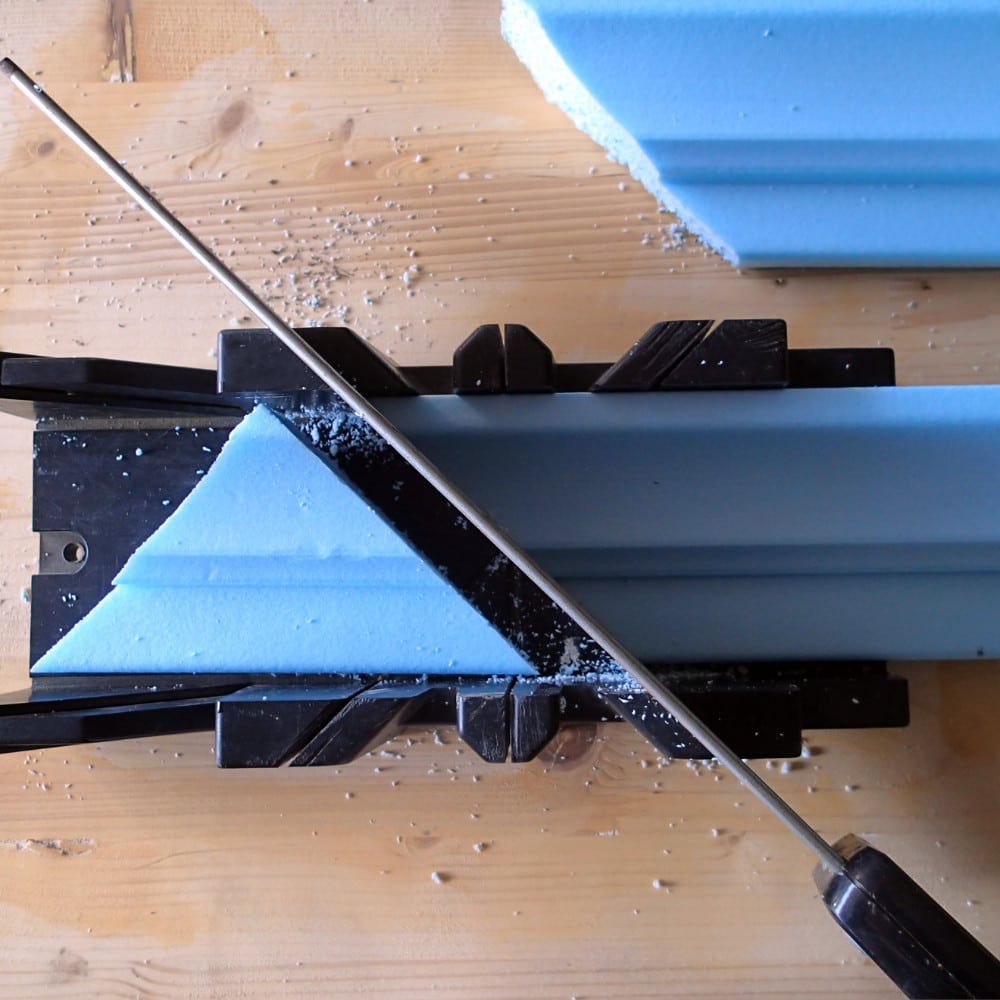
A miter box can be really useful here in making sure your angled cuts are precise. Measure a 45° angle at one end of your crown molding and set your saw appropriately. Press firmly and saw back and forth.
Be sure to cut the foam crown molding with the flat side down to avoid any kind of mismatching! If you have an intricate pattern, double check when you do the opposite side to make sure they’ll match. Measure and cut the other side, making sure that your angles are going in opposite directions. Repeat for all four pieces of your frame, keeping in mind that you have to cut a small triangle piece like this to get the angle right.
STEP 3 | Put the Frame Together
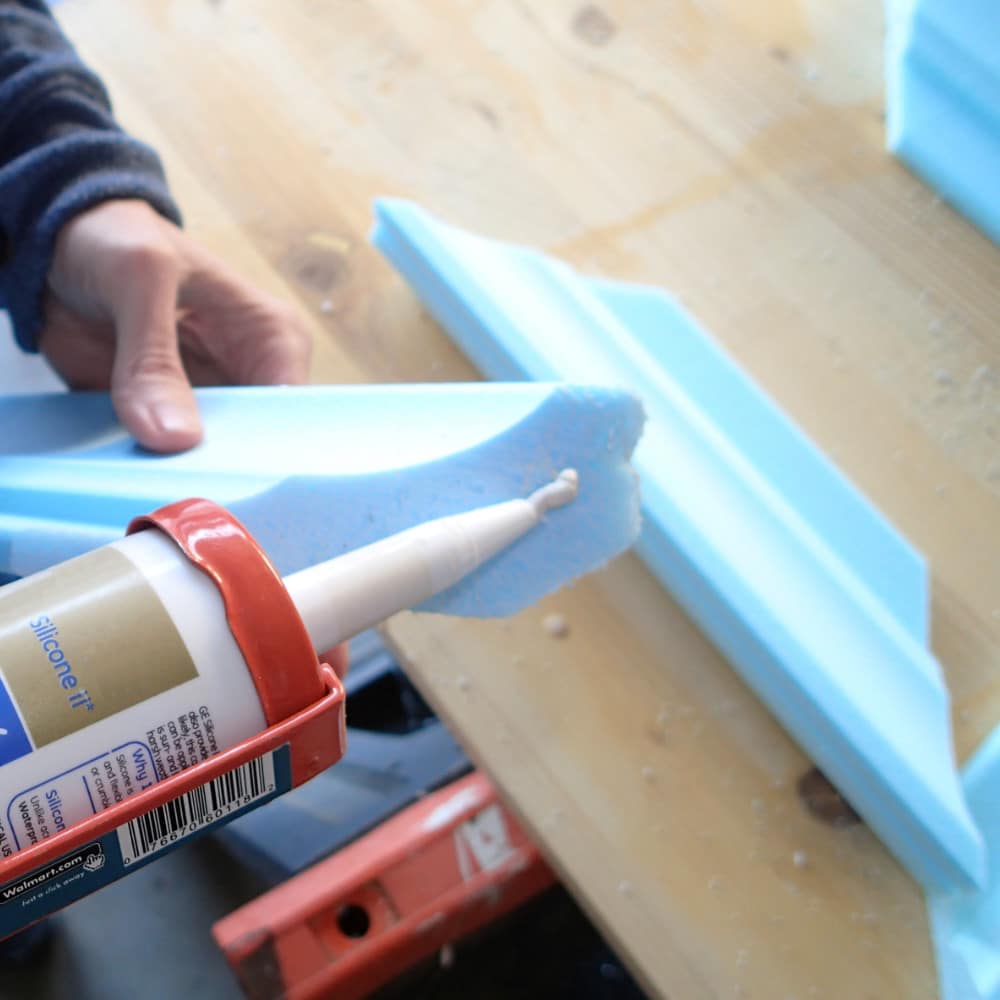
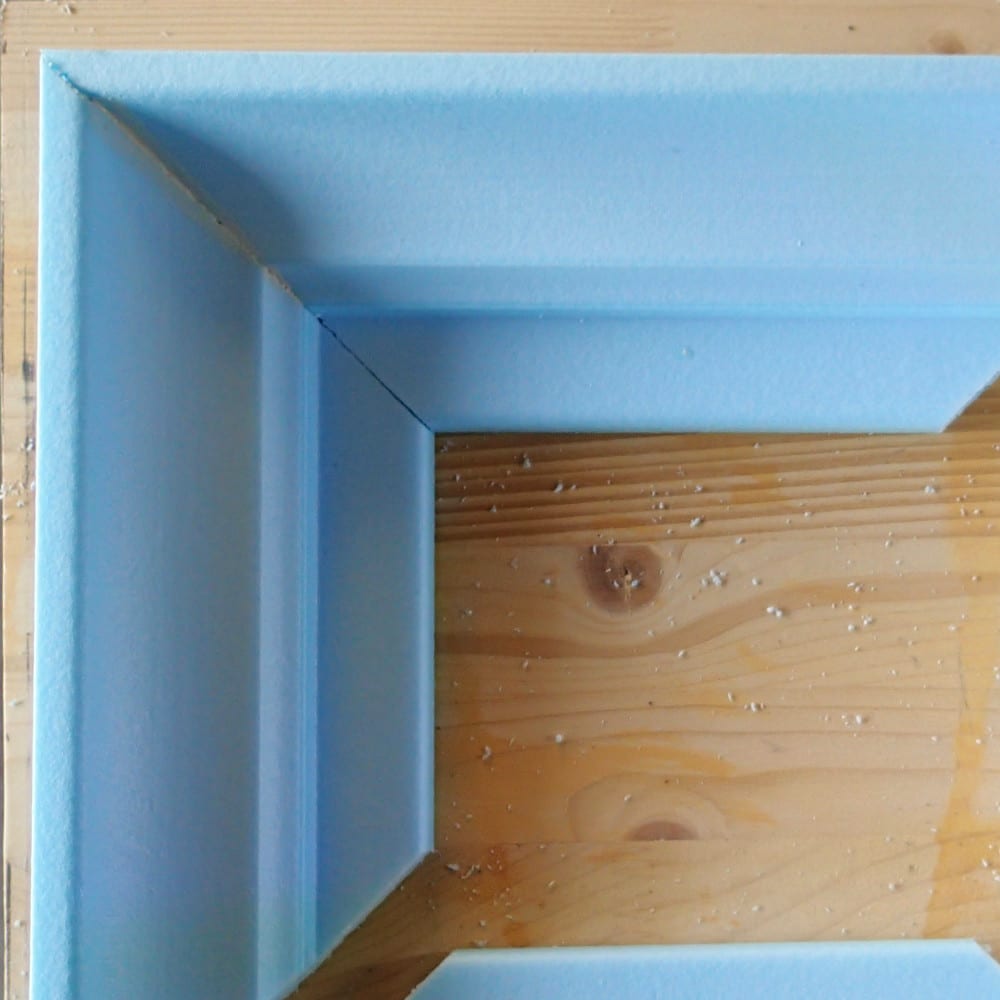
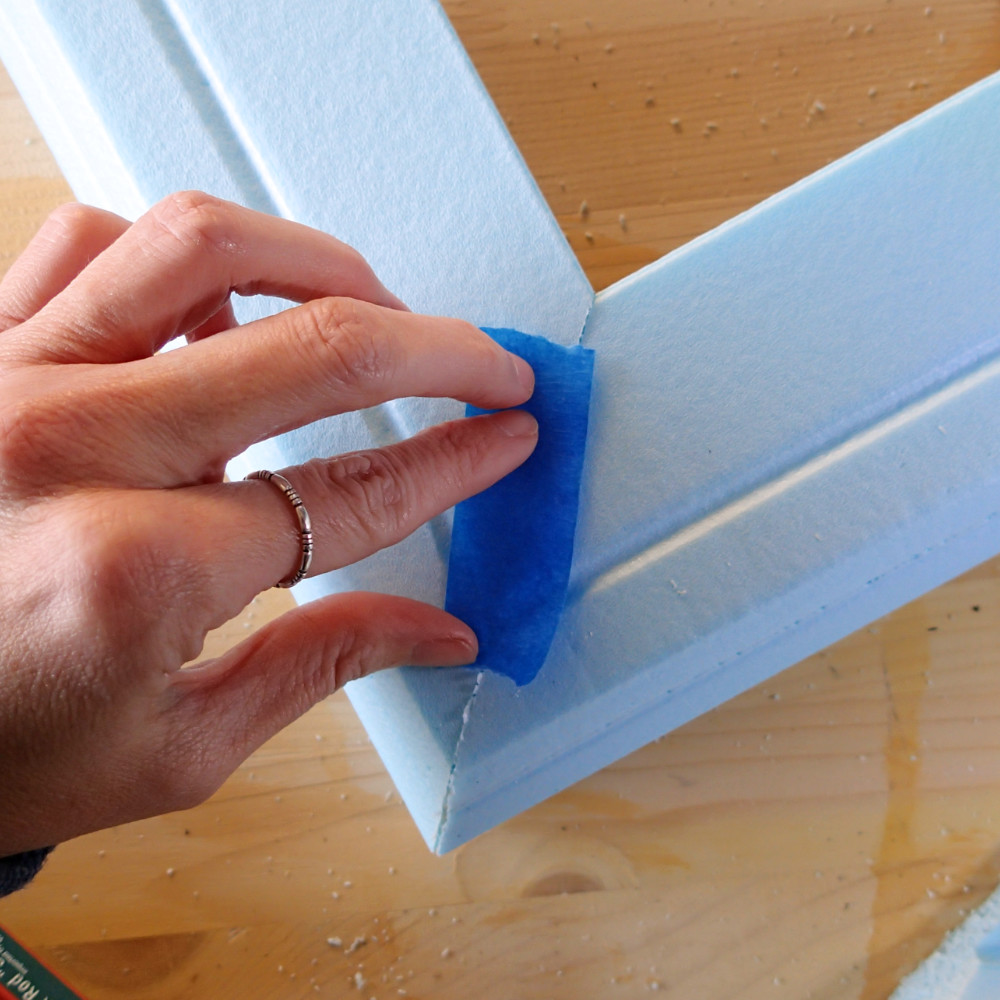
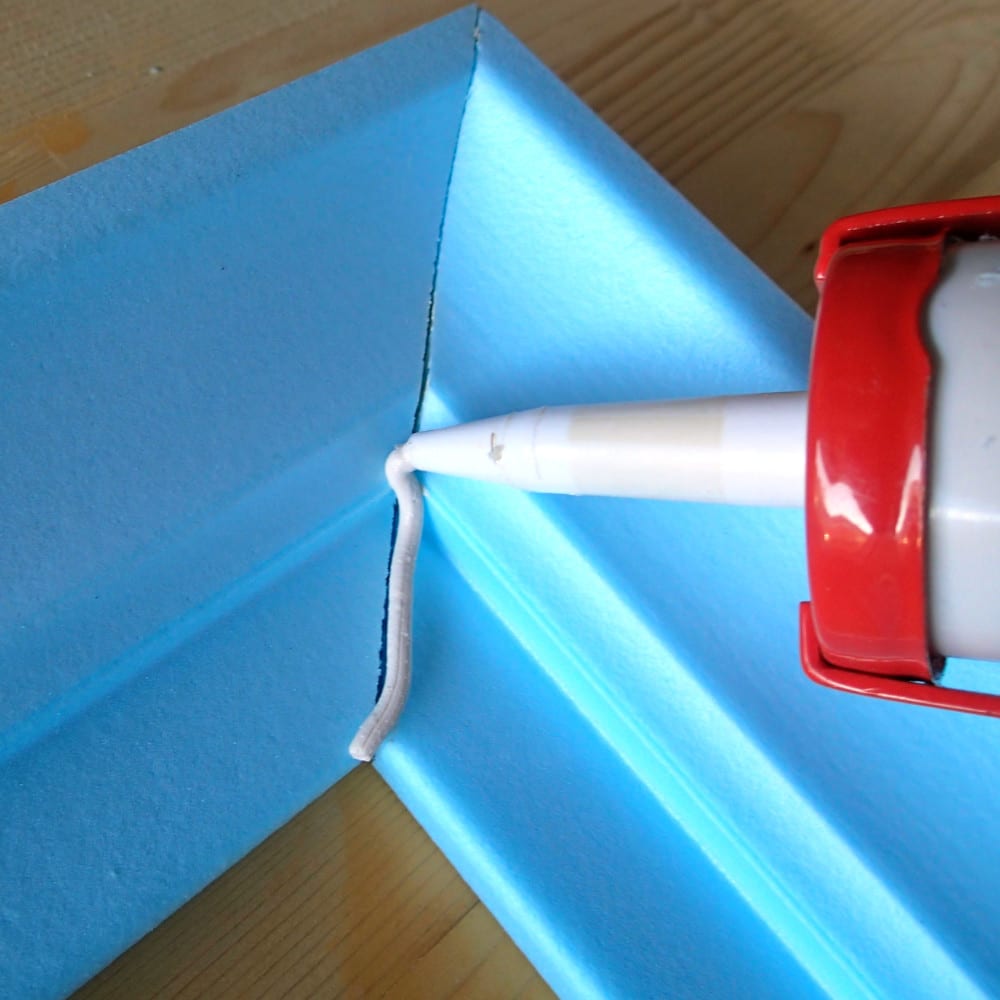
Lay all your frame pieces together to ensure they match up appropriately. Using the caulk, gently stick each side together. Wipe away and smooth any excess caulk that oozes out when you press the edges together. Use painters tape to hold in place. Give it some time to dry following directions on the caulk. (Overnight is probably best!)
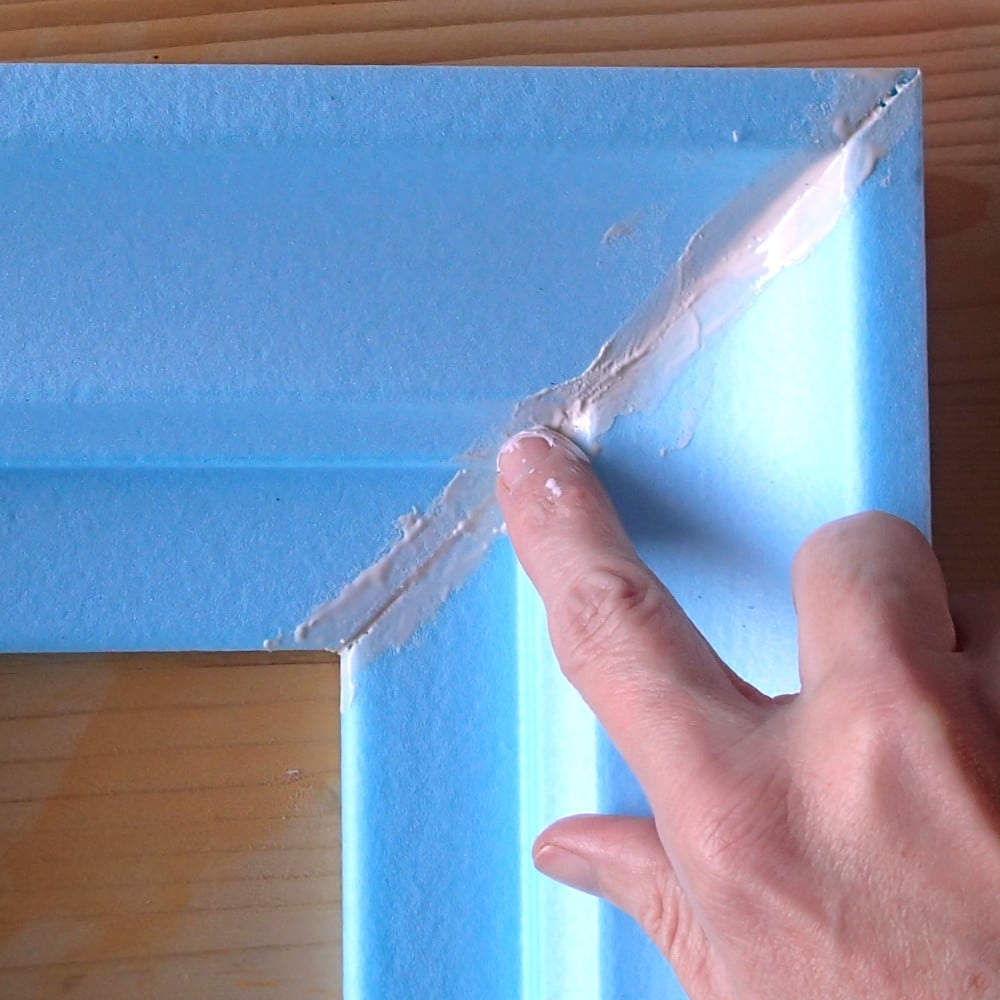
After the edges are set & dry, go back and caulk up any gaps from where the edges meet. Wipe away and smooth excess caulk so that the effect is seamless!
STEP 4 | Customize
You can use spray paint or regular paint to make your frame look the way you want it to. Keep in mind that most of our foam crown molding comes in a light shade of blue, requiring paint with primer. Get creative!
STEP 4 | Backing
You can use a piece of cardboard cut to size to create a firm backing and hot glue to the back of your frame. Make sure your photo or poster is centered before you put the glue on! Add a wire or a small metal piece to hang the frame on a nail.
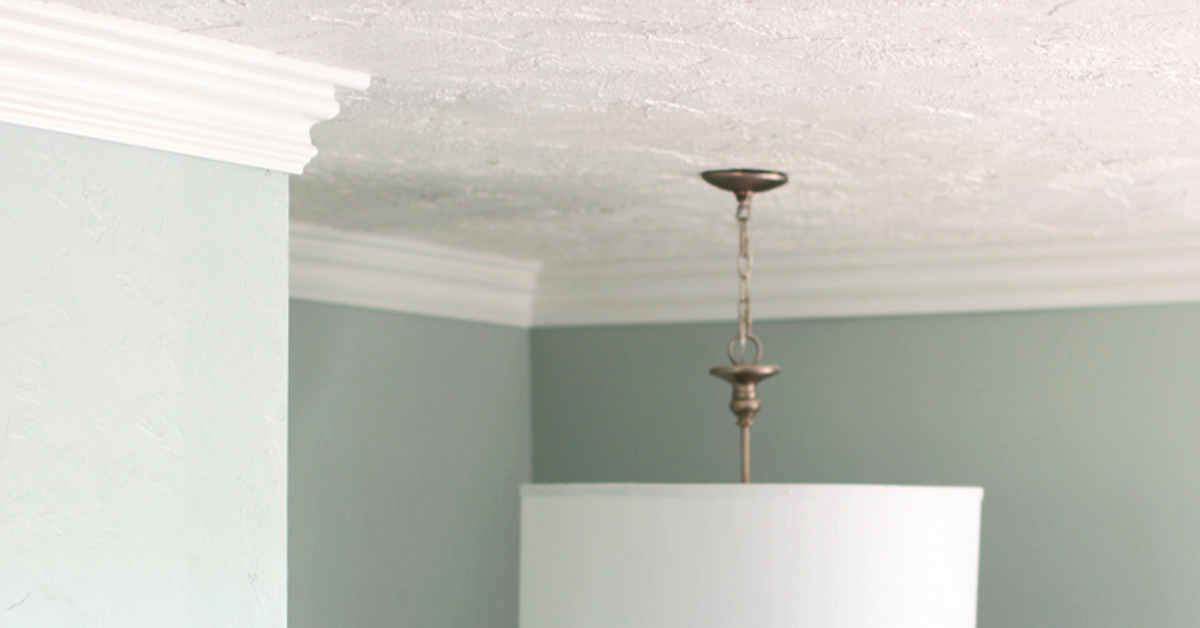
That’s it! This is the most affordable project ever – we made our frame for about $10!! It’s easy and so much fun to create your own custom frame instead of purchasing one for a lot more.


